![Distributely Google Responsive Ads_Square Logo V6.png]](https://knowledge.distributely.com/hs-fs/hubfs/Distributely%20Google%20Responsive%20Ads_Square%20Logo%20V6.png?height=50&name=Distributely%20Google%20Responsive%20Ads_Square%20Logo%20V6.png)
Before you start
- You'll need a HubSpot account with Super Admin or App Marketplace access permissions to install Distributely. If you don't have this, you can use HubSpot's Request to install option to send the request to an admin on your account.
- You'll create a separate Distributely account (email/password or Google SSO) in addition to your HubSpot login — the two are not the same sign-in.
Step 1: Install Distributely from the HubSpot Marketplace
- In HubSpot, click the marketplace icon in the top navigation bar and select HubSpot Marketplace.
- Search for Distributely
- Click the Distributely app card to review its details — compatibility, requested permissions, and features.
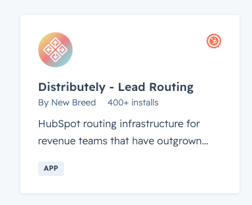
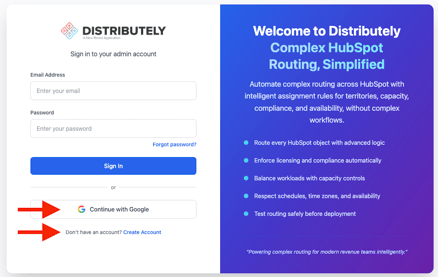
- Click the orange Install button. If the orange button says Manage, then Distributely is already installed on this account. This will direct you to the Distributely sign in screen. If you have a Google business email, click on click on Continue with Google. Otherwise, click Create Account and then enter in your email address and a new password.
Step 3: Connect your HubSpot account to Distributely
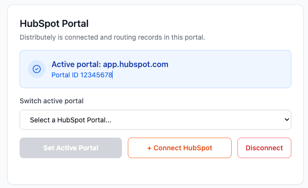
- From the Distributely dashboard, select your HubSpot portal ID and click on Connect HubSpot.
- You'll be redirected to HubSpot's own authorization screen. Choose the HubSpot account you want to connect (if you have access to more than one) and review the permissions Distributely is requesting — these include read/write access to contacts, deals, tickets, and companies, and read access to owners.
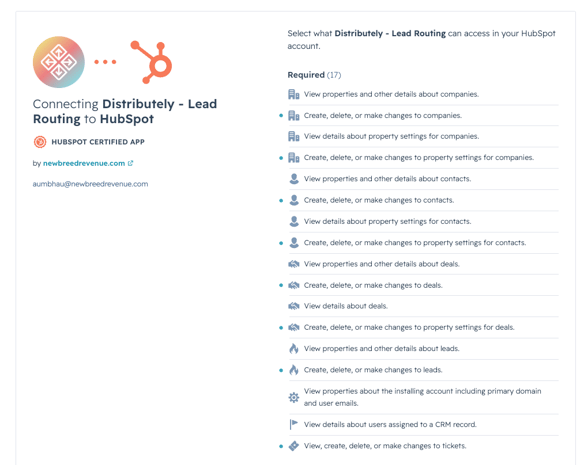
- Click to approve. You'll be redirected back to the Distributely dashboard, where your connected HubSpot portal now shows as your Active Portal.
Connecting more than one HubSpot account
If you have access to multiple HubSpot portals, you can connect additional ones the same way. Only one portal can be active at a time — use the portal switcher on the dashboard and click Set Active Portal to change which one Distributely is currently working with.
Step 4: Finish onboarding
After connecting, the dashboard shows a setup checklist with the remaining steps to get distribution running:
- ✅ Connect HubSpot portal (just completed)
- Create your first team
- Configure routing rules for that team
- Set a fallback owner for the portal, so there's always someone to assign to if no team member is available